
Ball Activation Drills
📖 Table of Contents
I still remember the first time I tried a ball activation drill — it was a Tuesday in my living room, with a small stability ball and a notebook I barely used. I had been struggling with lower back pain for months, and my physical therapist suggested these exercises as a way to engage my pelvic floor and core muscles. At first, I thought it was just another one of those 'core workouts' I'd seen everywhere, but within weeks, I noticed a shift in how my body felt. Ball activation drills became a cornerstone of my daily routine, not only for pain relief but for overall stability and strength.
There’s something about the tactile feedback from the ball that makes these drills different from traditional exercises. I didn’t need any fancy equipment — just a ball, a mat, and the willingness to be uncomfortable for a few minutes. I remember the first time I did the basic wall ball hold. I couldn’t keep the ball from rolling off my lower back for more than 20 seconds. But over time, as I adjusted my posture and focused on engaging my muscles, I found I could hold for minutes. That kind of progress, though slow, was so satisfying.[1]
Ball activation drills are more than just a set of exercises; they're a way to retrain your body to move with intention and control. I’ve used them to help clients with everything from postpartum recovery to chronic back pain and even to improve athletic performance. Whether you're a beginner or someone looking to refine your technique, there’s a drill that can work for you. These drills are accessible, affordable, and adaptable — and that’s why I'm sharing them with you.
Why You'll Love This ...
- Improved core and pelvic floor engagement
- Increased body awareness and posture
- Reduced lower back pain and tension
- Accessible and adaptable for all fitness levels
Understanding Ball Activation Drills
As of August 2026, these drills are not just about holding a ball — they’re about engaging the right muscles in the right way. For instance, the basic wall ball hold teaches you to stabilize your pelvis by pressing the ball against a wall and holding your body upright. This simple movement activates the deep core and pelvic floor muscles, which are often overlooked in traditional workouts.
I’ve found that the key to these drills is to focus on breath and small movements. When I first started, I didn’t realize how much tension I was holding in my lower back. As I practiced these drills, I noticed that I was able to release that tension and engage my core more effectively. It’s not about strength alone — it’s about control and awareness.
The most effective drills are those that challenge your balance and coordination. For example, a seated ball roll involves rolling the ball forward and backward while seated. It’s a deceptively simple movement, but it requires a lot of core engagement and pelvic control. Over time, this helps build strength and stability without putting strain on the lower back.
Don’t rush into advanced drills. Begin with basic holds and progress as your body adapts. Aim for 2-3 sets of 30 seconds each, and increase the duration as you get more comfortable.
Part of our Pelvic dissociation drills guide.
Choosing the Right Ball for Your Needs
I’ve used a variety of balls over the years — from 55cm diameter balls for general core work to 65cm balls for more advanced balance training. The size of the ball determines how much of your body is in contact with it, which affects the level of engagement required. A smaller ball will require more control, while a larger ball offers more stability.
Material is another important factor. I recommend choosing a ball with a textured surface for better grip. A smooth ball can be slippery, especially when you're sweating or in a humid environment. I’ve had a few mishaps with smooth balls, and trust me — it’s not worth the risk.
Investing in a high-quality ball can make your drills more effective. I’ve found that durable, firm balls last longer and provide better feedback than cheaper, softer alternatives. It’s worth the small investment for the long-term benefits.
A good ball is like a good pair of shoes — it supports you and helps you perform better.
Related: Activation exercises for football
Related: Pelvic awareness drill
Related: Pelvic control drills
Related: Core activation drills
Related: Pelvic drills
Setting Up for Success
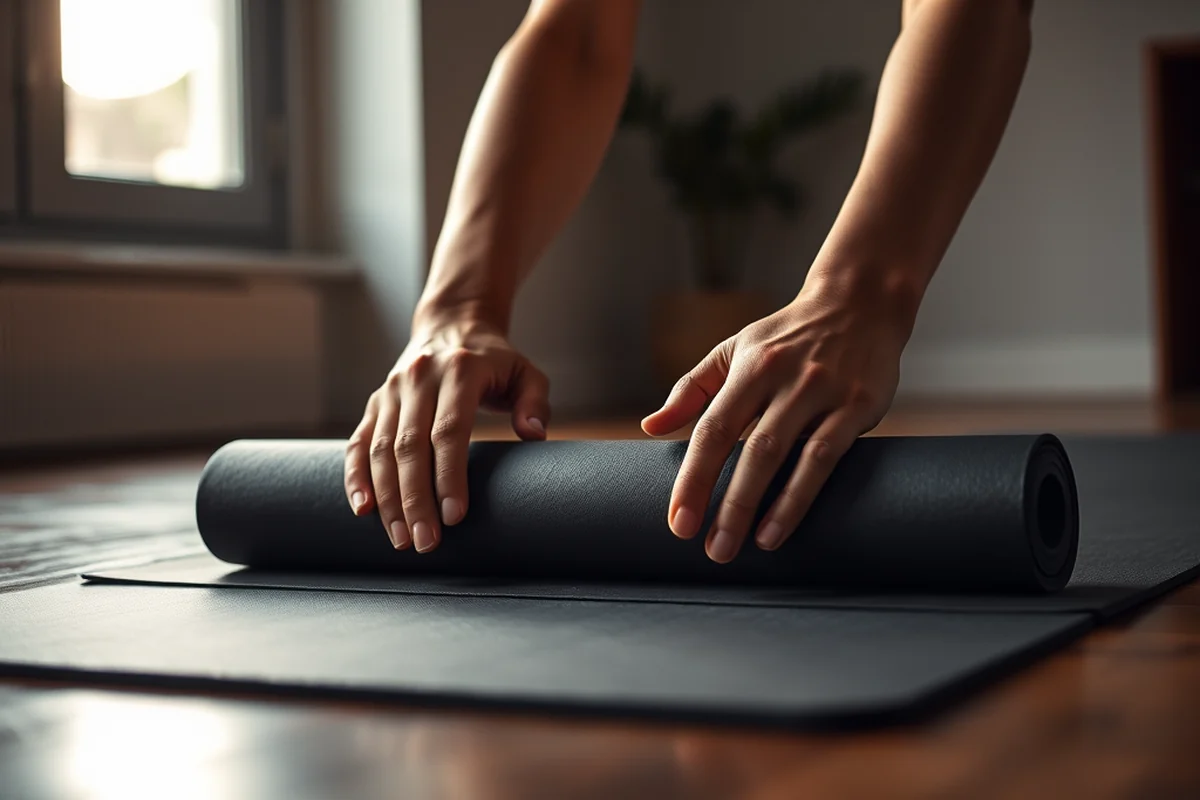
I always start by choosing a flat, non-slip surface. A yoga mat is ideal, but a carpeted floor can work too, as long as it’s not too thick. I’ve found that a thick rug can cause instability, which is the last thing you want during a drill. It’s also important to clear the space around you to avoid any obstructions.
Warm-up is another key component. I always spend 5 minutes doing light stretching before starting any drills. This helps prepare your muscles for the work ahead and reduces the risk of injury. A simple cat-cow stretch or pelvic tilt can do wonders for getting your body ready.
Setting up a consistent routine is crucial for progress. I recommend dedicating 15-20 minutes each day to these drills. Even on busy days, I find that a short session is better than skipping it altogether. Consistency is key, and it builds muscle memory over time.
If you can, set up a mirror to check your form. It helps you see subtle movements and adjust them in real time. Even a phone camera can work if a mirror isn’t available.
“I still remember the first time I tried a ball activation drill — it was a Tuesday in my living room, with a small stability…”— Pelvic Floor Activation Drills editors
Basic Drills for Beginners
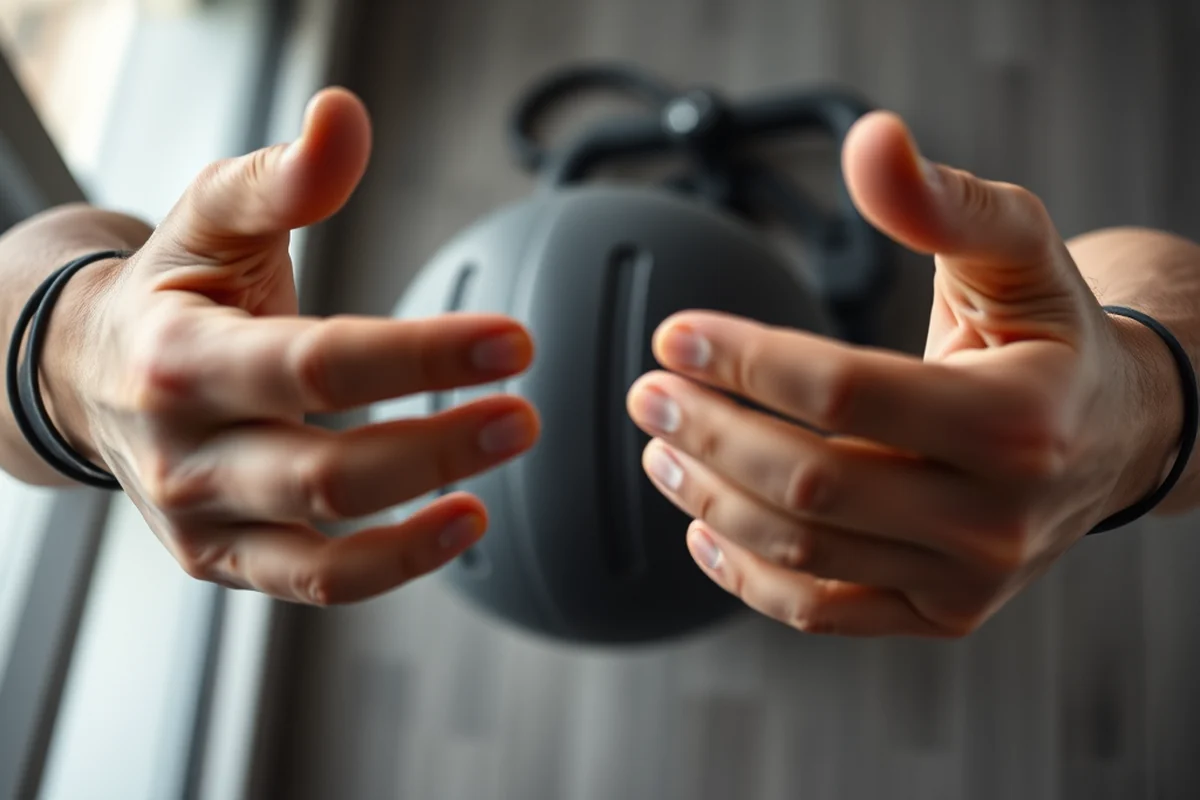
The wall ball hold is one of the first drills I recommend. Stand with your back against a wall, place the ball between your lower back and the wall, and press gently. Hold this position for 20-30 seconds, focusing on engaging your core. This drill teaches you how to activate your pelvic floor and core muscles without overstraining your back.
Another beginner-friendly drill is the seated ball roll. Sit on the ball with your feet flat on the floor and your back straight. Slowly roll the ball forward and backward, keeping your core engaged. This movement helps improve balance and core control. I’ve found that this drill is especially helpful for people who sit for long periods.
Both of these drills are low-impact and can be done anywhere. They’re great for building body awareness and strengthening the core without putting too much strain on the body. I’ve seen significant improvements in posture and stability among my clients who start with these basics.
Progressing to Advanced Drills
One of the more advanced drills is the single-leg balance on the ball. Stand on one leg with the ball under your other foot, and try to maintain your balance. This drill requires a lot of core and pelvic engagement, and it’s a great way to test your stability. I’ve found that this drill is particularly effective for improving posture and reducing lower back strain.
Another challenging drill is the ball bridge. Lie on your back with the ball under your sacrum and slowly lift your hips until your body forms a straight line from your shoulders to your knees. This movement targets the glutes and core while engaging the pelvic floor. I’ve used this drill with clients who struggle with lower back pain, and it's been very effective in strengthening the core and reducing tension.
These advanced drills are more demanding, but they can lead to significant improvements in strength and stability. I recommend starting with shorter durations and gradually increasing the time as your body adapts. Always listen to your body and avoid pushing too hard too soon.
Incorporating Drills Into Daily Life
One of the easiest ways to incorporate these drills is to do them during short breaks throughout the day. For example, I often do a quick wall ball hold while waiting for my coffee to brew. It takes just a few minutes but keeps my core engaged and helps me stay focused.
I’ve also found that doing these drills in the morning or evening is particularly effective. Starting the day with a few minutes of core activation helps set a positive tone for the rest of the day. Similarly, doing a few drills before bed can help relax the body and improve sleep quality.
Consistency is key, and even a few minutes of drills each day can make a difference. I’ve seen clients who have incorporated these drills into their routine see improvements in posture, strength, and overall well-being within just a few weeks.
Even a few minutes of drills a day can make a big difference over time.
Tracking Progress and Staying Motivated
I recommend keeping a journal or using a simple app to track your progress. Note how long you can hold each position, any improvements in balance or control, and any changes in how your body feels. This helps you see your progress over time and stay motivated.
Celebrating small victories is also important. For example, if you’re able to hold a position for an extra 10 seconds, that’s a win. I’ve found that acknowledging these small improvements helps build confidence and keeps the practice enjoyable.
Staying consistent and being patient are key to long-term success. It’s not about how far you’ve come in a day — it’s about showing up every day and doing your best. Over time, these small efforts add up to significant improvements in strength, stability, and overall well-being.
🧘 Beginner
Ideal for those new to core and pelvic floor activation, focusing on basic holds and simple movements.
💰 Budget
Low-cost approach using minimal equipment, perfect for those who want to start with what they have.
⏱️ Fastest
Quick, effective drills that can be done in under 10 minutes, great for busy schedules.
💪 Advanced
More challenging drills that push your balance, strength, and coordination to the next level.
🔄 Maintenance
Routine drills to keep your core and pelvic floor strong, perfect for long-term maintenance and consistency.
| The mistake | Why it happens | The fix |
|---|---|---|
| Using the wrong size ball for your body type | The size of the ball affects your balance and engagement. Using a ball that's too small or too large can lead to poor form and increased risk of injury. | Choose a ball that allows your body to be in a comfortable, stable position. A 55cm ball is a good starting point for most people. |
| Rushing through the drills without focusing on form | Proper form is essential for activating the right muscles. Rushing through the movements can lead to poor engagement and increased risk of injury. | Take your time and focus on each movement. Start with short durations and gradually increase the time as you get more comfortable. |
| Overexerting without rest | Overexertion can lead to burnout or injury. It's important to listen to your body and take breaks when needed. | Start with short sessions and gradually increase the duration. Allow your body time to recover between sessions. |
| Ignoring core engagement | Many people focus on the ball and neglect the engagement of their core and pelvic floor muscles, which is the main goal of these drills. | Focus on engaging your core and pelvic floor muscles throughout each drill. Use breath control to help maintain engagement and stability. |
Ball Activation Drills
Common Questions
How often should I do ball activation drills?
Can I do these drills if I have lower back pain?
Do I need any special equipment?
How long will it take to see results?
References
- Interactive Program Guide | Colonial Heights, VA - Official Website (colonialheightsva.gov)
Cite this guide
Pelvic Floor Activation Drills (2026). Ball Activation Drills. https://groundedmove.com/ball-activation-drills/
Feel free to cite or share this guide.